
Unwanted “Ring” Around Image

Applying too much pressure will get the edges of the stamp inked causing a “ring’ around the stamped image. When inking up a stamp, try gently tapping the stamp onto the ink pad instead of pressing the stamp down hard onto the pad.
Image Is Uneven

When using photopolymer stamps, sometimes you get an uneven stamped image. This is because photopolymer stamps don’t have rubber cushions as rubber stamps do. A solution for this is to use the Stampin’ Pierce Mat (126199) underneath your cardstock. The cushion of the mat will give you the even pressure and ink coverage you’ll need with photopolymer stamps.
For rubber stamps, try inking the stamp with the image side facing up, ensuring that the ink is evenly applied to the stamp. Then stamp standing up while applying even pressure.
Unwanted Ink On Finished Project
First, close the ink pad after using it! Most ink accidents are prevented this way.
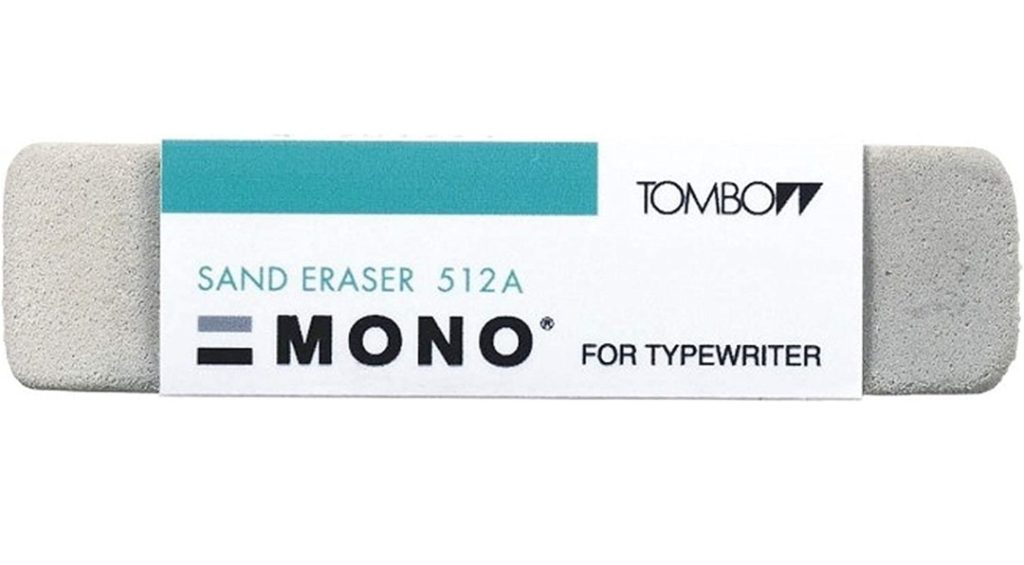
If you do get a smudge on your project, try erasing it with a sand eraser. This is a grainy gray eraser that’s normally used for typewriters. Or if the smudge is from using Stampin’ Blends markers, try using the Stampin’ Blends Color Lifter (144608). This tool pulls color away from images you colored.
If it’s a small smudge, I usually cover it up with an embellishment like Rhinestones Basic Jewels (144220). A card can always use some bling.
To prevent smudges created by inky hands, try holding the stamp from the top without resting your hand or fingers on the ink pad or paper. I know, this takes practice. In the meantime, have some baby wipes nearby.
Product List

